
We all know the dangers of the sun, and those with fair skin (like myself), tend to avoid it at all costs to reduce the risk of sunburn. Sometimes, no matter how much SPF you apply and how often, fair skin becomes burned skin.
Thanks to the improvements with sunless tanning, a healthy glow can be achieved all year round without ever stepping foot on the beach...
Don't bake: fake!
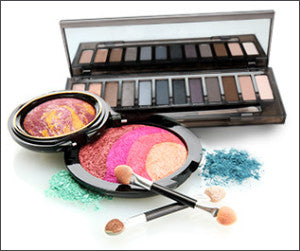
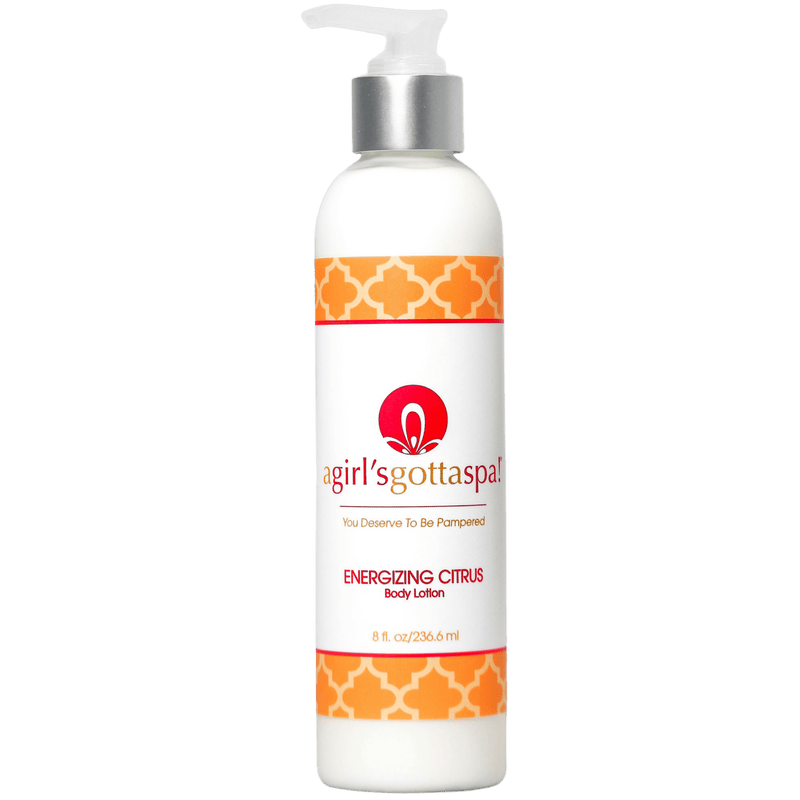
There are lots of effective fake tan products that you can use at home. You don’t need an appointment and it’s far less expensive than a salon visit; all you have to do is leave plenty of time and gather the equipment you’ll need.
Be guided by your true coloring and select a product that won’t make you look as though you’ve been dip-dyed! Test it on a hidden area to make sure you don’t have an adverse reaction and prepare your skin before you apply any of the tanning products.
Preparation
Smooth, moisturized skin will take the product better, leaving you with a more professional-looking finish that will last longer and be much easier to achieve. You should exfoliate before you do anything else, paying particular attention to the roughest and driest areas, such as elbows and knees; you’ll know your own worst areas, though, so you can eliminate potential problems wherever they’re likely to arise.
After exfoliating, apply moisturizer over your whole body, but wait until it has been completely absorbed by your skin before beginning the tanning process.
Equipment and approach
In addition to your self-tanning product, you will need at least one application mitt, a long-handled applicator, some plastic or latex gloves, something to protect your hair, petroleum jelly, cotton buds, a hand mirror and access to a static mirror.
You must keep your hair tied up and, if possible, covered up and you should also apply a small amount of petroleum jelly to your hairline and your eyebrows. To make sure that you don’t miss any spots, use a systematic approach, beginning with your face and moving to your torso, followed by your limbs and, finally, your hands and feet.
Pay careful attention to areas such as the back of your neck, under your chin and behind your ears, where it would be very easy to leave gaps or streaks. Use the hand mirror and the static mirror to keep track of hard-to-see places as you go along.
Finishing off
Use small to medium circular motions, blending as you go and be careful not to leave any hard edges, such as at the jawline and where your wrists join your hands. Using a second mitt with less lotion on it to ‘buff’ streaky areas can give you a smoother look. If you notice excessive amounts of lotion in creases, such as by your nose, or where you have small scars, use the cotton buds to buff in the same way as before for a streak-free finish.
Protect your handiwork by refraining from putting on clothes until you’re sure it’s all dry; try to avoid dressing up for at least 20 minutes, then, once you are happy that the full color has developed, shower and exfoliate again. Just because you can’t lie out in the sun, it doesn’t mean you can’t look gorgeous!
Subscribe to A Girl’s Gotta Spa! for more beauty reviews! Watch our reviews on
YouTube, see our pins on
Pinterest and check us out on
Instagram and
G+. Got a Kindle?
We’re on Kindle too!
Shannon on G+
*Disclosure


Add a comment